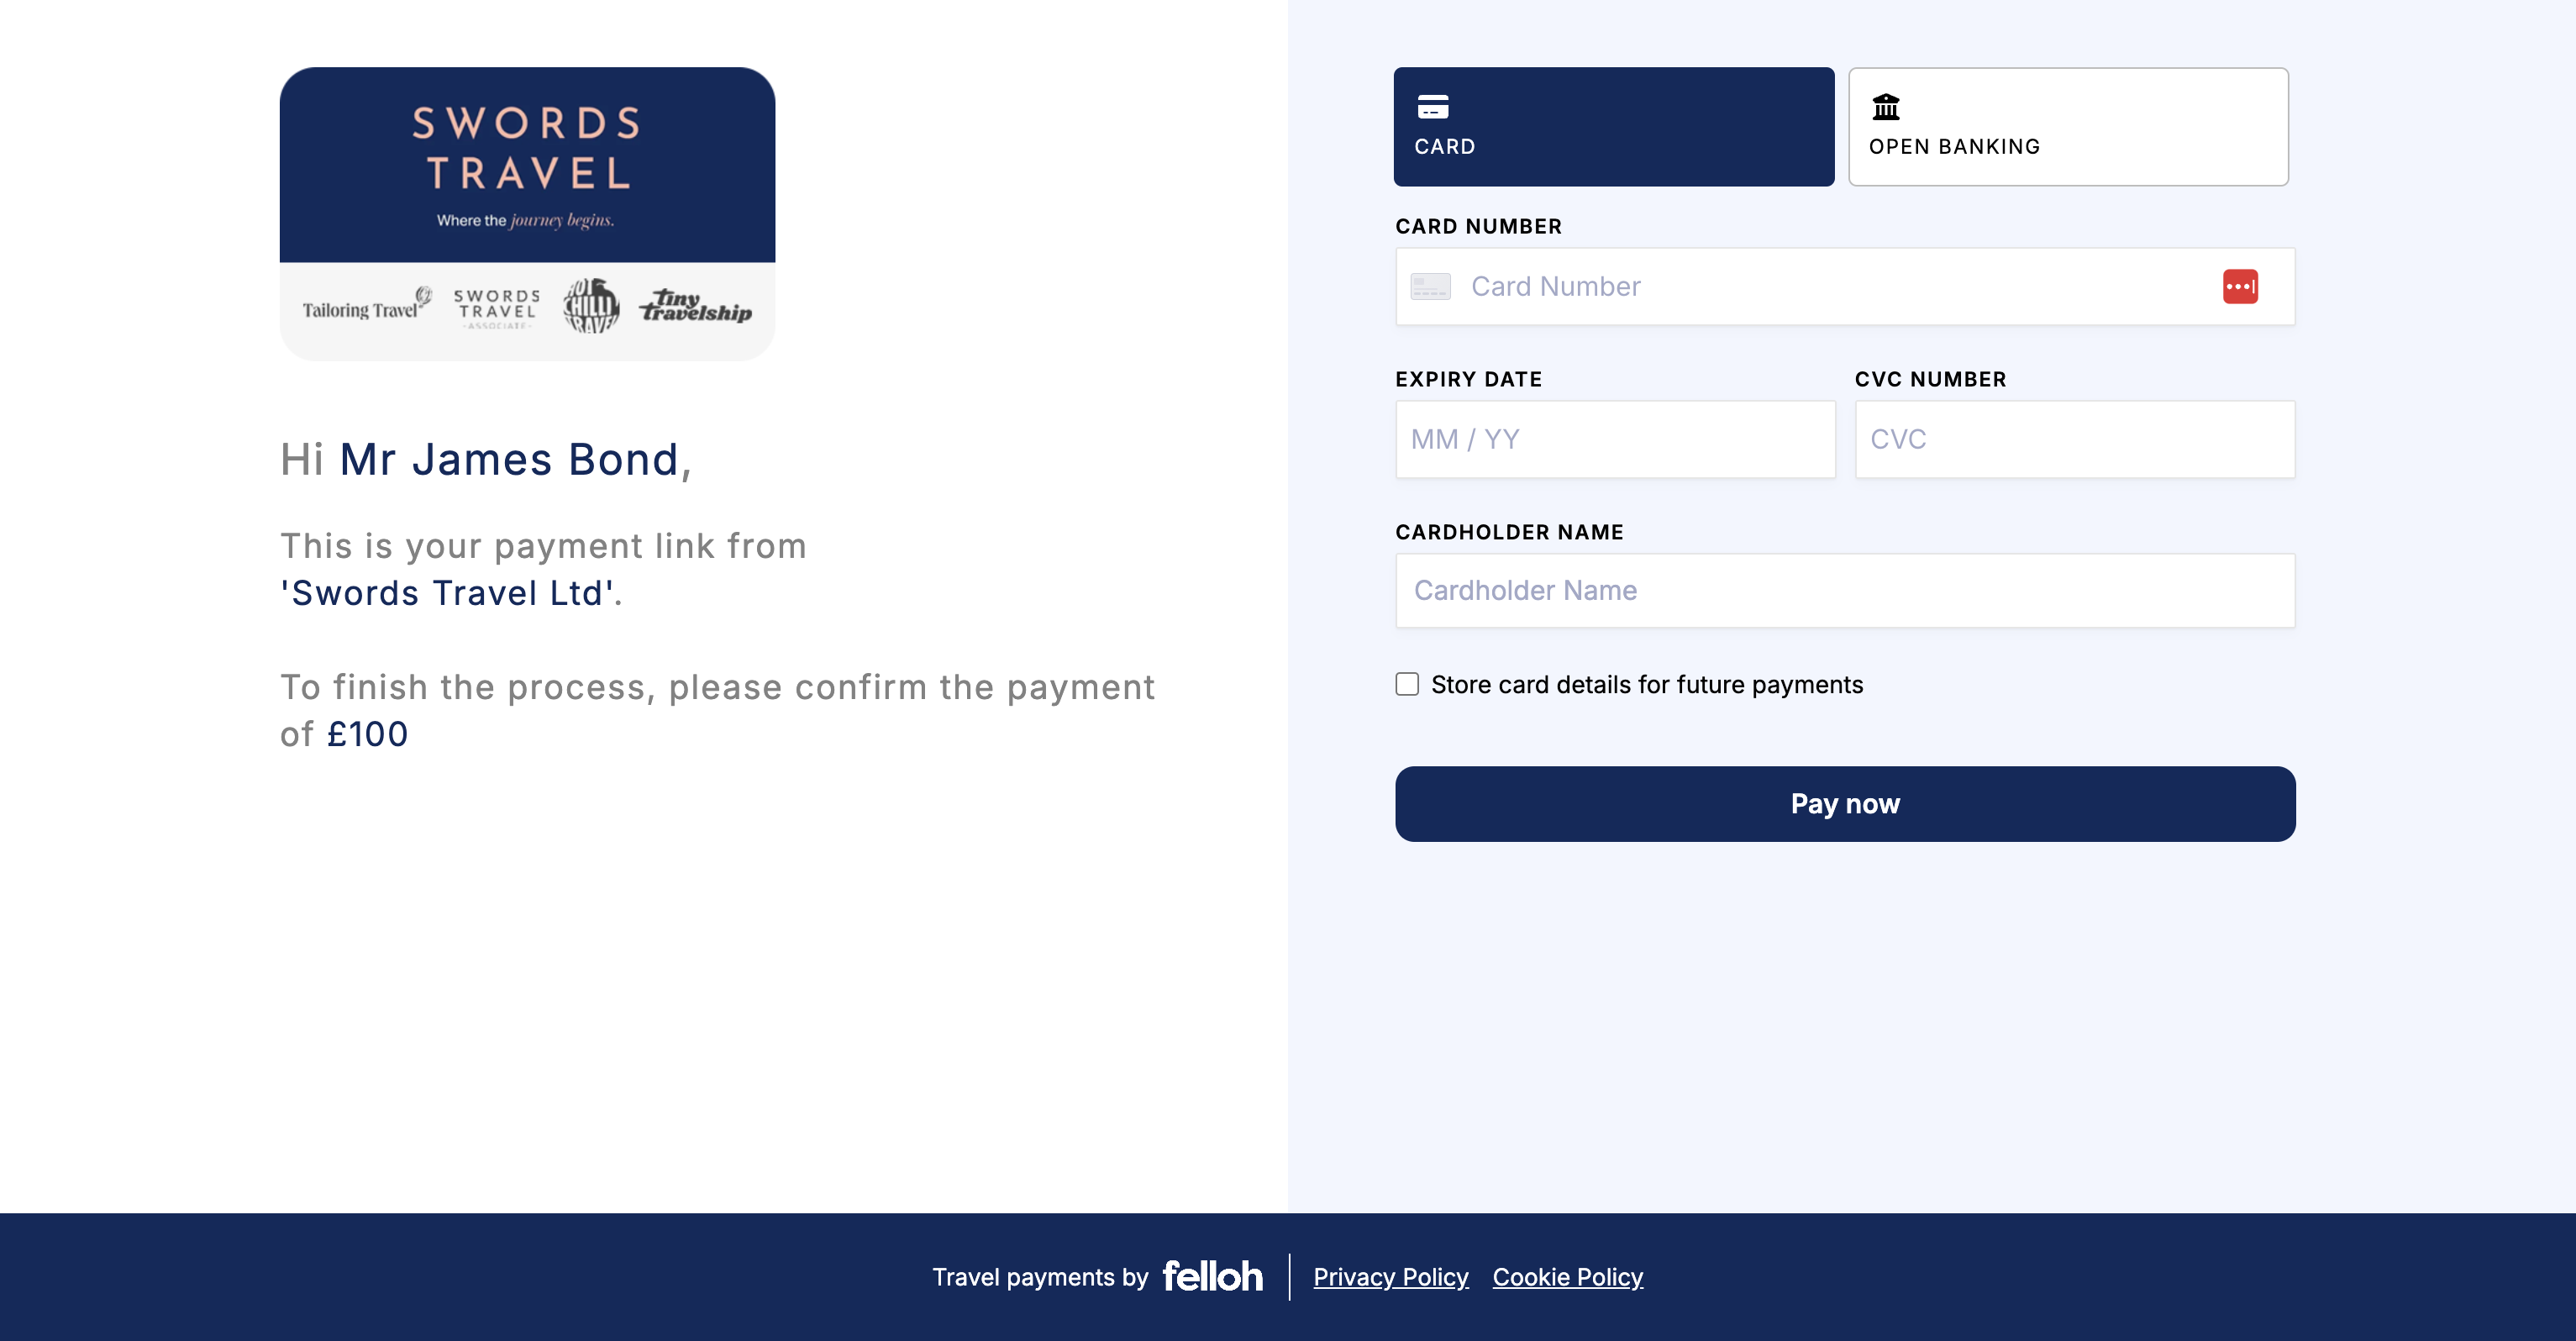
Adding Custom Styling to the Payment Page
This guide will walk you through the process of adding custom styling to Felloh Payment Pages to align them with your brand.
- Felloh allows customisation of payment pages using CSS to enhance branding and improve the user experience.
- You can change colors, fonts, buttons, and other visual elements.
- You can overide any elements on the payment page, simply find the css using chrome devtools and add in to your css overides.
1. Access the Felloh Dashboard
- Log in to your Felloh dashboard.
- Navigate to the Developers section.
- Locate the Styling tab in the developers section.

2. Prepare Your Custom CSS
Add your CSS style into the input with your desired styles. In this Example, we are changing many of the components to a shade of blue:
div.app__merchant-logo img { max-height: 175px; max-width: 350px; height: auto; width: auto; } .app__dynamic-text span { color: #152a59 !important; } a.payment-type-selector--active { background-color: #152a59 !important; border: 1px solid #152a59 !important; } main button.wpwl-button { background: #152a59 !important; } .App .footer { background-color: #152a59; } .app-content__wrapper::before { background: #f3f6fe!important; }
Once complete, click the validate and apply button.
3. Test Your Custom Styling
- Open a payment page in a browser.
- Verify that your custom styles are applied properly.
- Test responsiveness on different devices (mobile, tablet, desktop).

